
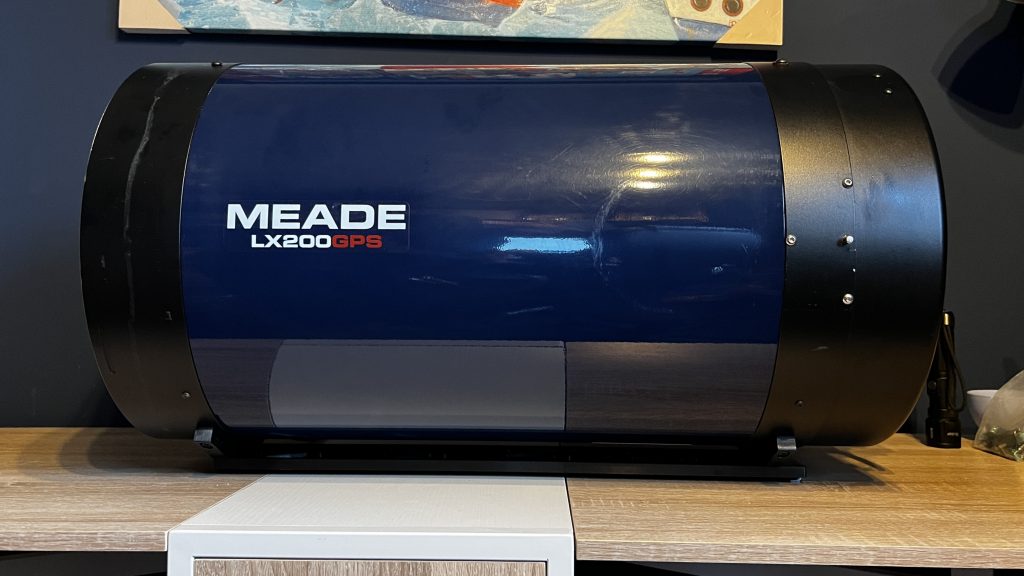
I am currently refurbishing/restoring a deforked 14″ LX200 optical tube. When all the optical elements were out of the tube it was a good time to consider small upgrades. When using a Celestron 11” SCT I have found the Dew heater ring to be quite impressive. Sadly Meade (nor anyone else) made dew rings of the Meade SCTs so this is a chance to make my own Meade LX200 Dew Heater Ring!
These heaters fit just in front of the corrector plate so they warms just the part of the scope that would otherwise attract dew. Some people have reported strange star shapes when the Celestron heater is in use. I keep it powered at 80% while the scope stays in the unheated observatory. When preparing to observe/image I turn to 0% to allow the scope to stabilise. Then if it looks like dew may be an issue I will increase the power to 25%. This works pretty well for me with no sign of strange star shapes.
Getting the parts designed
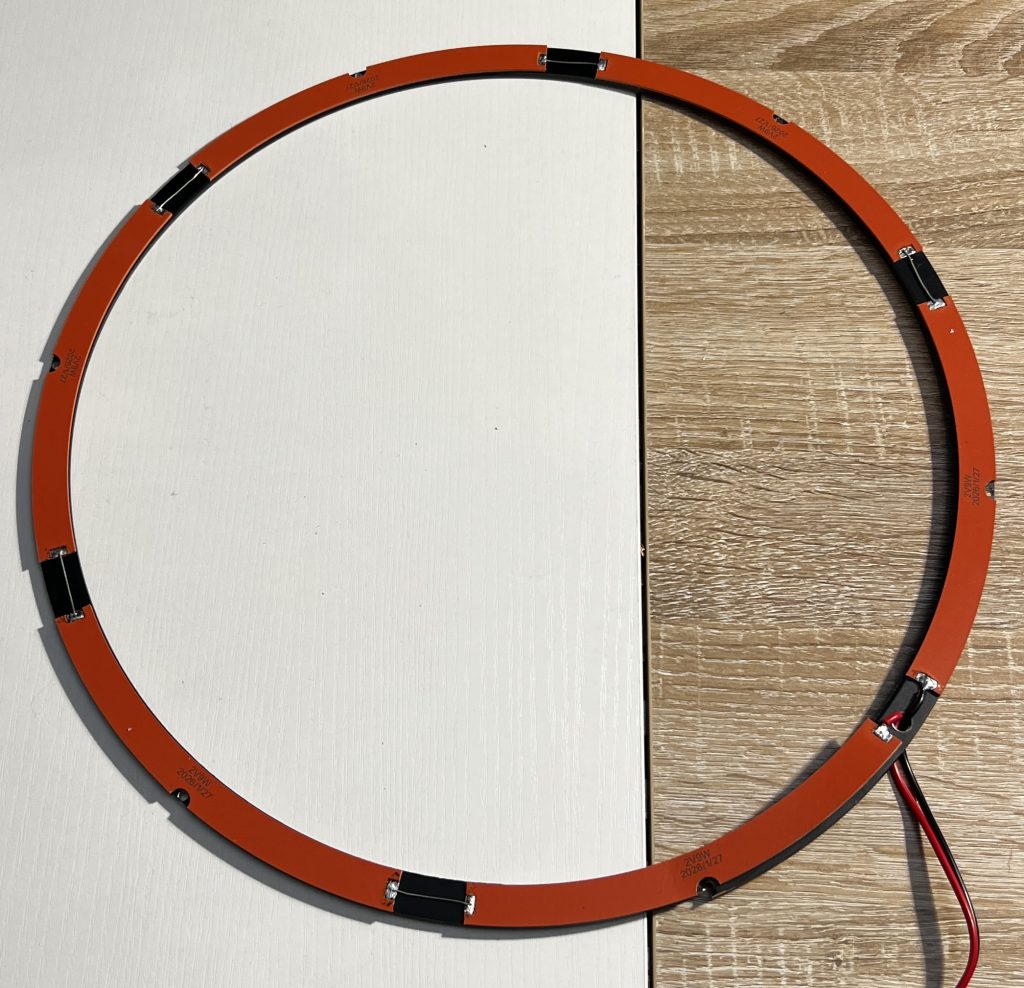
JLCPCB offer a free design service for their silicone backed flexy PCB heaters. To keep the size manageable I have had the heater made in 6 identical parts. To gauge the power requirements, I reviewed the specifications for the Celestron 14″ dew ring, rated at 52W. My setup includes six elements connected in series, each consuming 8.5W and receiving 2V when the entire ring operates at 12V. To have the parts made you just enter these details into the order form and send with a CAD of the outline required, eg below.
| DEW RING | SPEC |
|---|---|
| CELESTRON 14″ (REFERENCE) | 52W |
| ELEMENTS | six, connected in series |
| EACH ELEMENT | 8.5W @ 2V |
| WHOLE RING | 12V |

The little cut outs are for the corrector retaining ring screws. JLCPCB will then do the design and send back a design file. I was told that, in my case, the solder pads needed to be positioned further back from the edge. The final design is below.
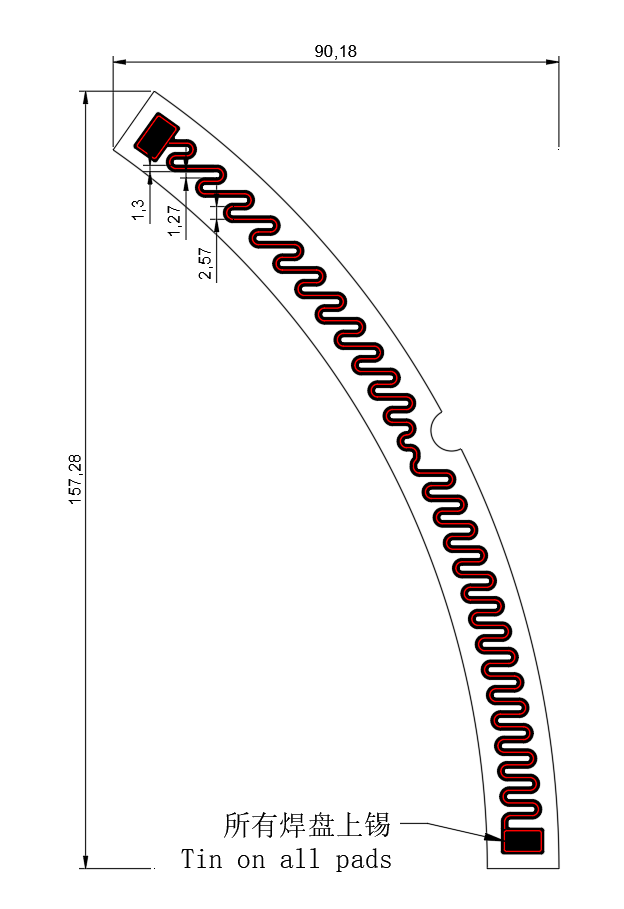
I needed 6 of these to make the full circle but ordered 8. I went with the 0.75mm thick Silicone Rubber Heaters, adhesive one side. Price was a very reasonable $22.48 for the parts but total $61.14 with shipping and all taxes included. Great considering the Celestron 14″ version is selling for £160 ex P+P. Time from order to the parts arriving was 13 days.
| ORDER | DETAILS |
|---|---|
| NEEDED | 6, to make the full circle |
| ORDERED | 8 |
| PARTS | 0.75mm thick Silicone Rubber Heaters, adhesive one side |
| PRICE (PARTS) | $22.48 |
| TOTAL | $61.14, with shipping and all taxes included |
| TIME TO ARRIVE | 13 days |
| CELESTRON 14″ (COMPARE) | £160 ex P+P |
Assembly and fitting
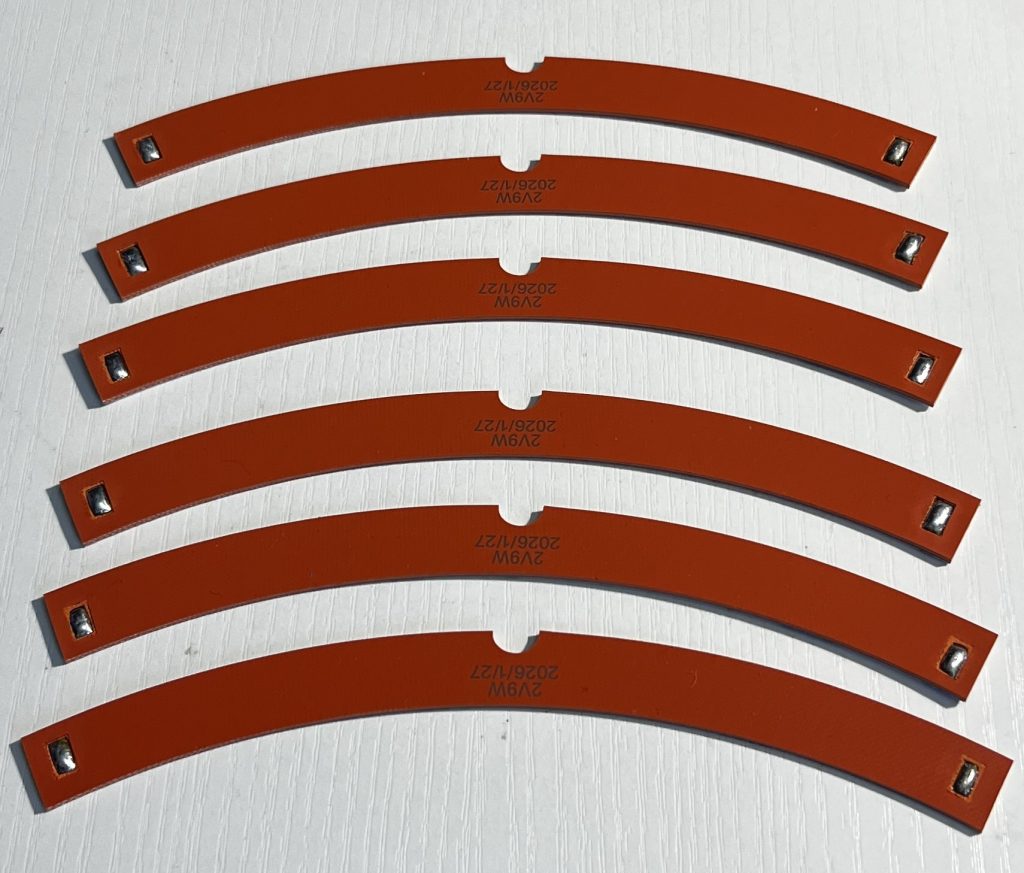
I had asked for a tinned finish to the solder pads. However this brings them up proud of the gasket material. To get the connections to work I used solder wick to remove excess solder then cut the ends of the heaters. The heaters are daisy-chained in this configuration, ensuring the soldered components remain flush and do not extend above the gasket.
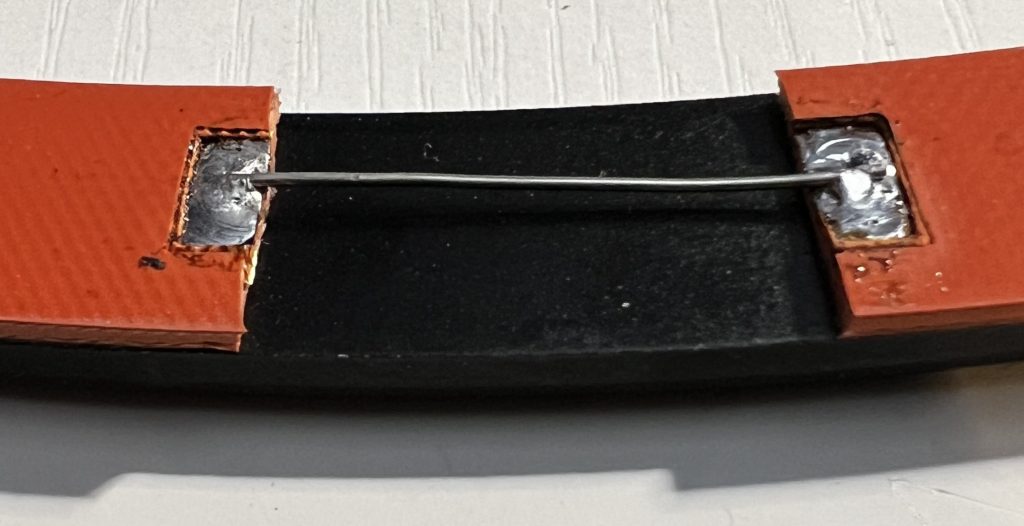
Picture of the heater elements firmly attached to the original corrector retaining ring.
You gently squeeze the split ring into position, leaving half of one arc unglued. When you screw everything down, taking care not to overtighten, all the heaters maintain excellent contact.
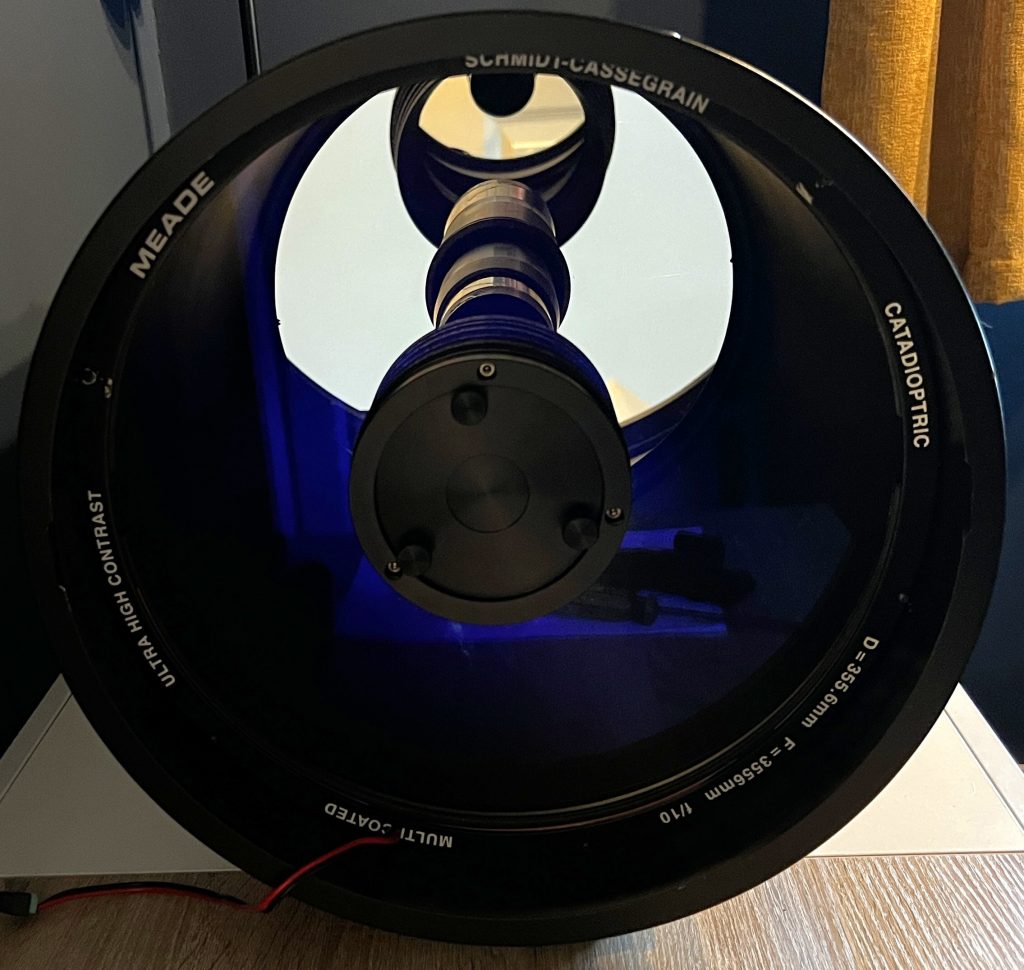
I am using a cheap 20A PWM motor controller supplied with 12V to regulate power to the heater. At full power the ring draws 3.8A which equates to 46W, pretty close to the 52W aimed for. 80% feels about right to be sure of avoiding dew when the scope is in the observatory but not in use. Dropping this to between 0-20% while the scope is in use keep dew away on all but the worse nights. I am using a passive dew shield as well.
| POWER | SETTING |
|---|---|
| CONTROLLER | 20A PWM motor controller, 12V |
| FULL POWER DRAW | 3.8A = 46W |
| AIMED FOR | 52W |
| IN THE OBSERVATORY | 80% |
| WHILE IN USE | 0-20% |